Guides → WiFi LED Clock
WiFi LED Clock
Turn DataPix into a WiFi LED clock — live time and date, each in your choice of format, always in sync since the device gets time over the network. No API key, no code.
What you need
Step by step
-
Open the interface
From a browser on the same network, open the device's IP address shown on the panel.

-
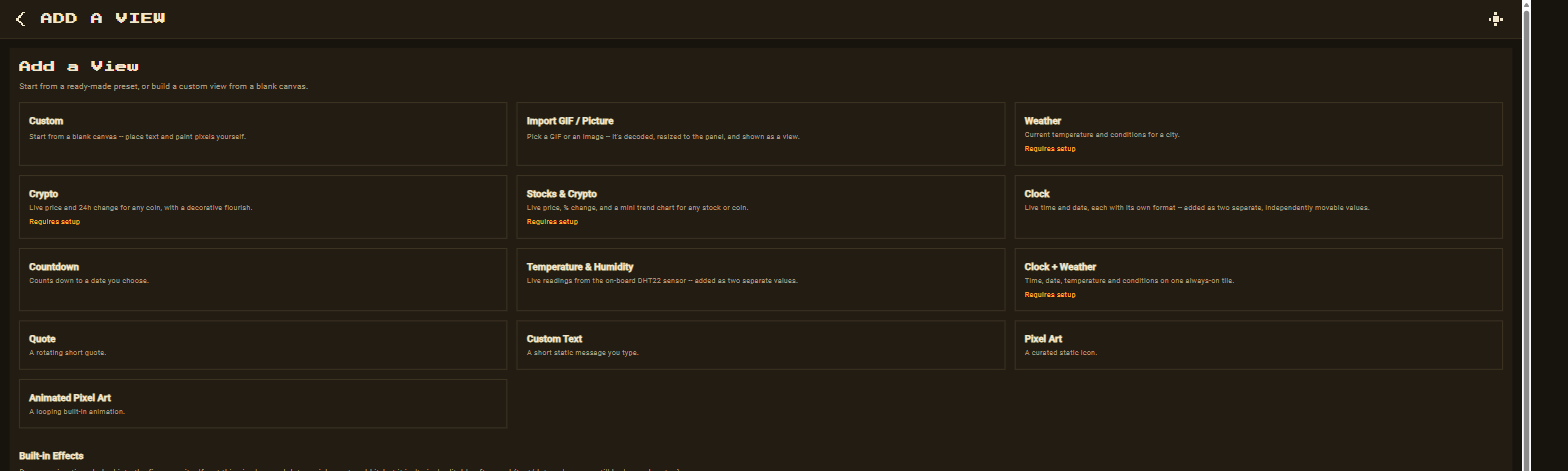
New view → Clock
Go to Views → New view and pick the Clock preset.
-
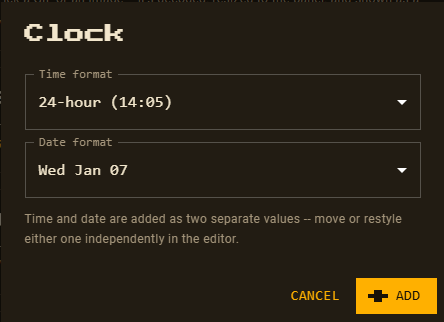
Pick time and date formats
Choose a time format (12- or 24-hour) and a date format from the dropdowns.
-
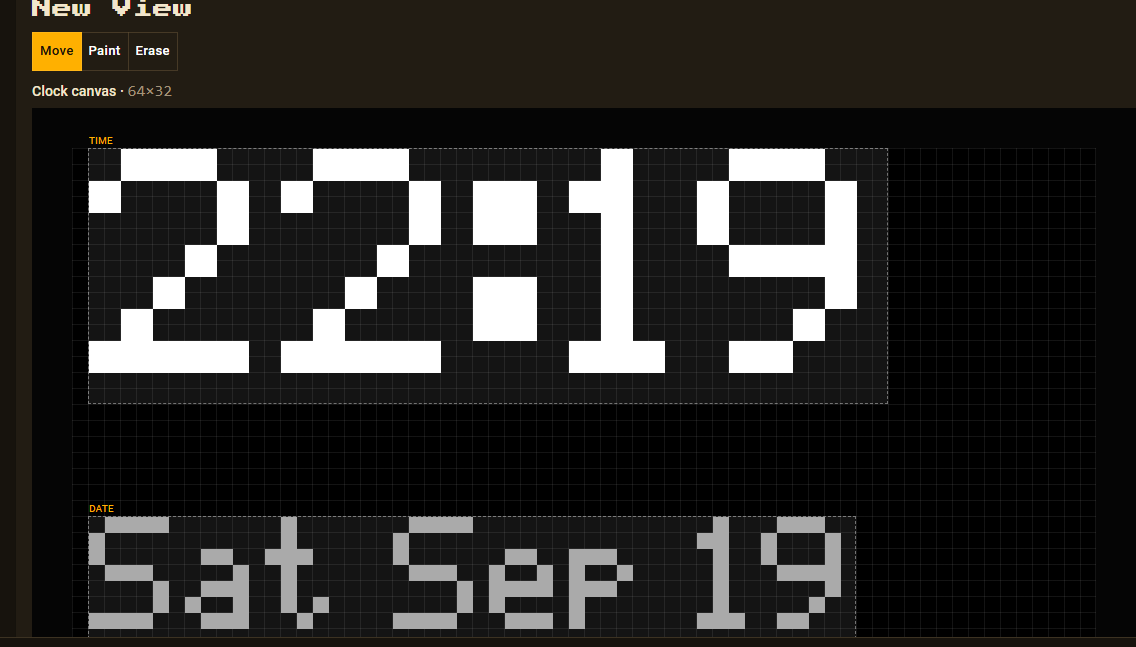
Customize and save
Time and date are added as two separate, independently movable elements — reposition and recolour either one, then Save.
Want temperature and conditions on the same tile? Use the
Clock + Weather preset instead — see
the weather guide. See
Views for every built-in preset, or
wire up any custom JSON API.