Guides → WiFi LED Calendar Display
WiFi LED Calendar Display
Never miss the next thing — the upcoming event from any public calendar feed, with its date and time, right on the panel.
What you need
- A DataPix, powered on and joined to your Wi-Fi (see Setup).
- A public
.icslink to the calendar — for example Google Calendar’s Public address in iCal format (Settings → your calendar → Integrate calendar), or any shared team, school, holiday or sports-club feed.
Step by step
-
Open the interface
From a browser on the same network, open the device's IP address shown on the panel.
-
New view → Calendar
Go to Views → New view and pick the Calendar preset.
-
Paste the .ics link
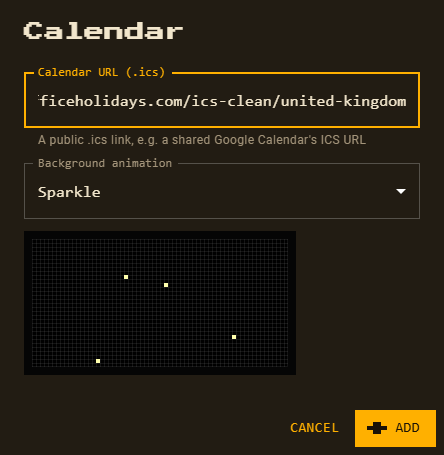
Paste the calendar’s public .ics address into Calendar URL.
-
Pick a background animation
Sparkle is preselected; choose any of the 14 animated patterns or 26 full-panel effects, or None. A live preview plays right under the dropdown. Subtle patterns keep text easiest to read.
-
Customize and save
Click Add. The event name (
Next: …) and its date and time (MM/DD HH:MM) are separate, movable values — restyle them, then Save. Saving also adds the feed to your data sources.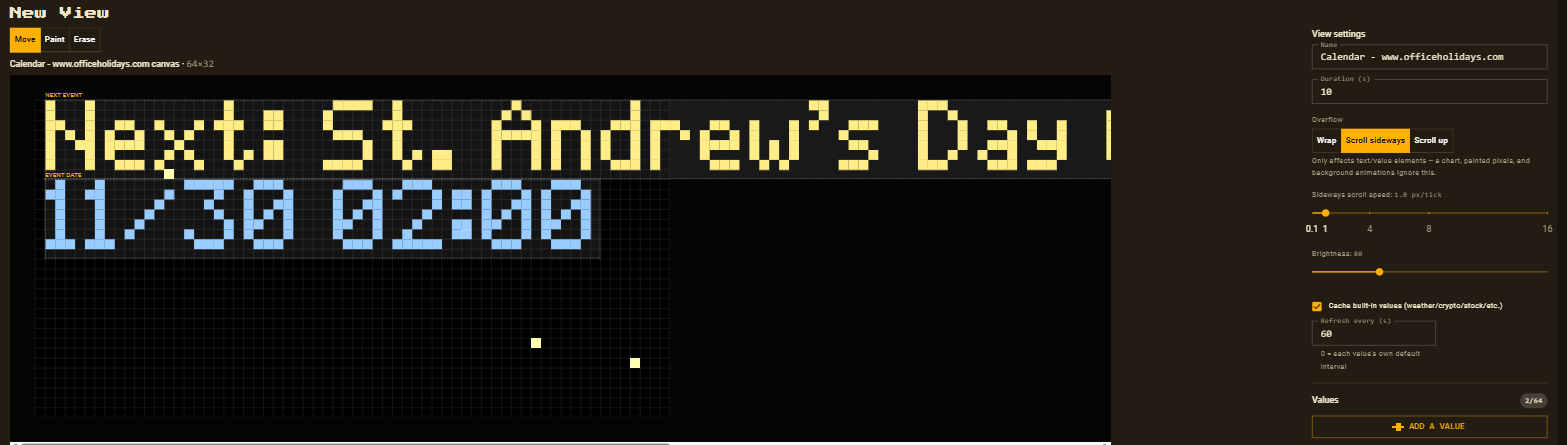
Good to know
- The device checks the feed every 30 minutes and shows the earliest event that hasn’t started yet.
- The feed becomes one of your 8 custom data sources — you’ll find it under data sources afterwards.
- All-day events (holidays, birthdays) have no time, so they show a midnight-UTC time converted to your timezone — like the
02:00above. For an all-day calendar, change the date value’s format to{value:t%m/%d}to show just the date. - Built for a small, purpose-made feed: only the first 24 KB of the file is read, recurring events aren’t expanded, and an event time without a timezone is read as UTC. A long personal calendar export may miss upcoming events — a separate calendar with just the events you want on the panel works best.